Empowering Your Digital Domain: DIY Home Server
The Unexpected Need🧐
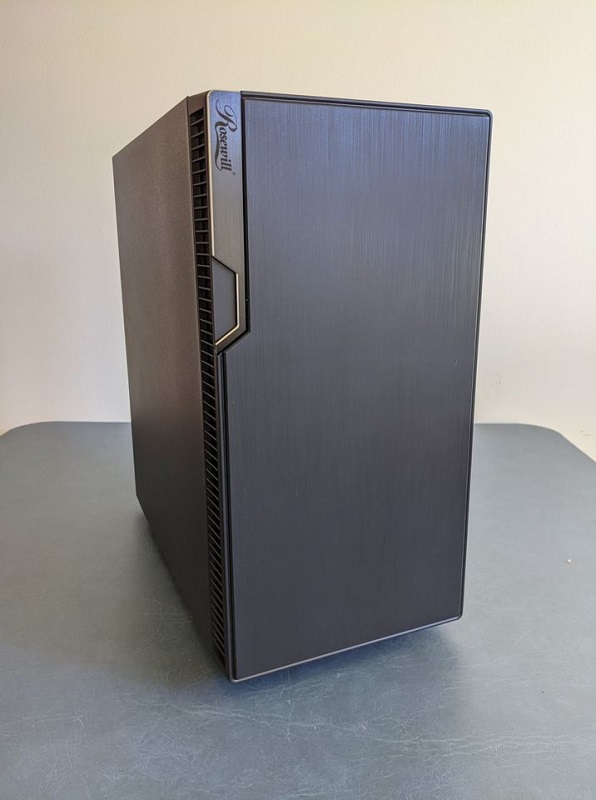
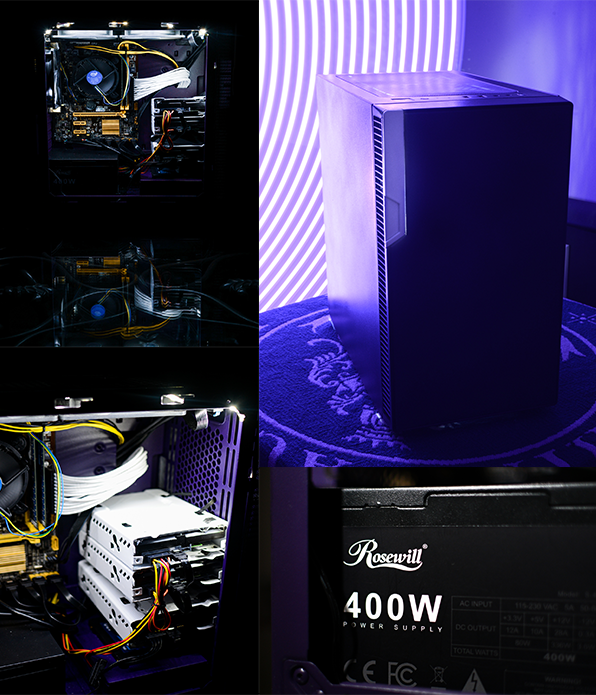
As a photographer, you inevitably take tons of photos/videos and you have to store them too! Before this I got into the habit of purchasing external drives and collected 2 6TB Western Digital My Books, and 2 WD Passport drives. I had the bright idea to build a network-attached server(NAS) and store the data there!🤯 I did some research on pre-built home solutions but stumbled upon custom/DIY NAS solutions and started looking at options immediately. If you haven't used Facebook marketplace I highly recommend it, there are some gems hidden there. Now it might not look like it but this was the showstopper I bought for $220 that kickstarted my journey.
✨SPECS✨:
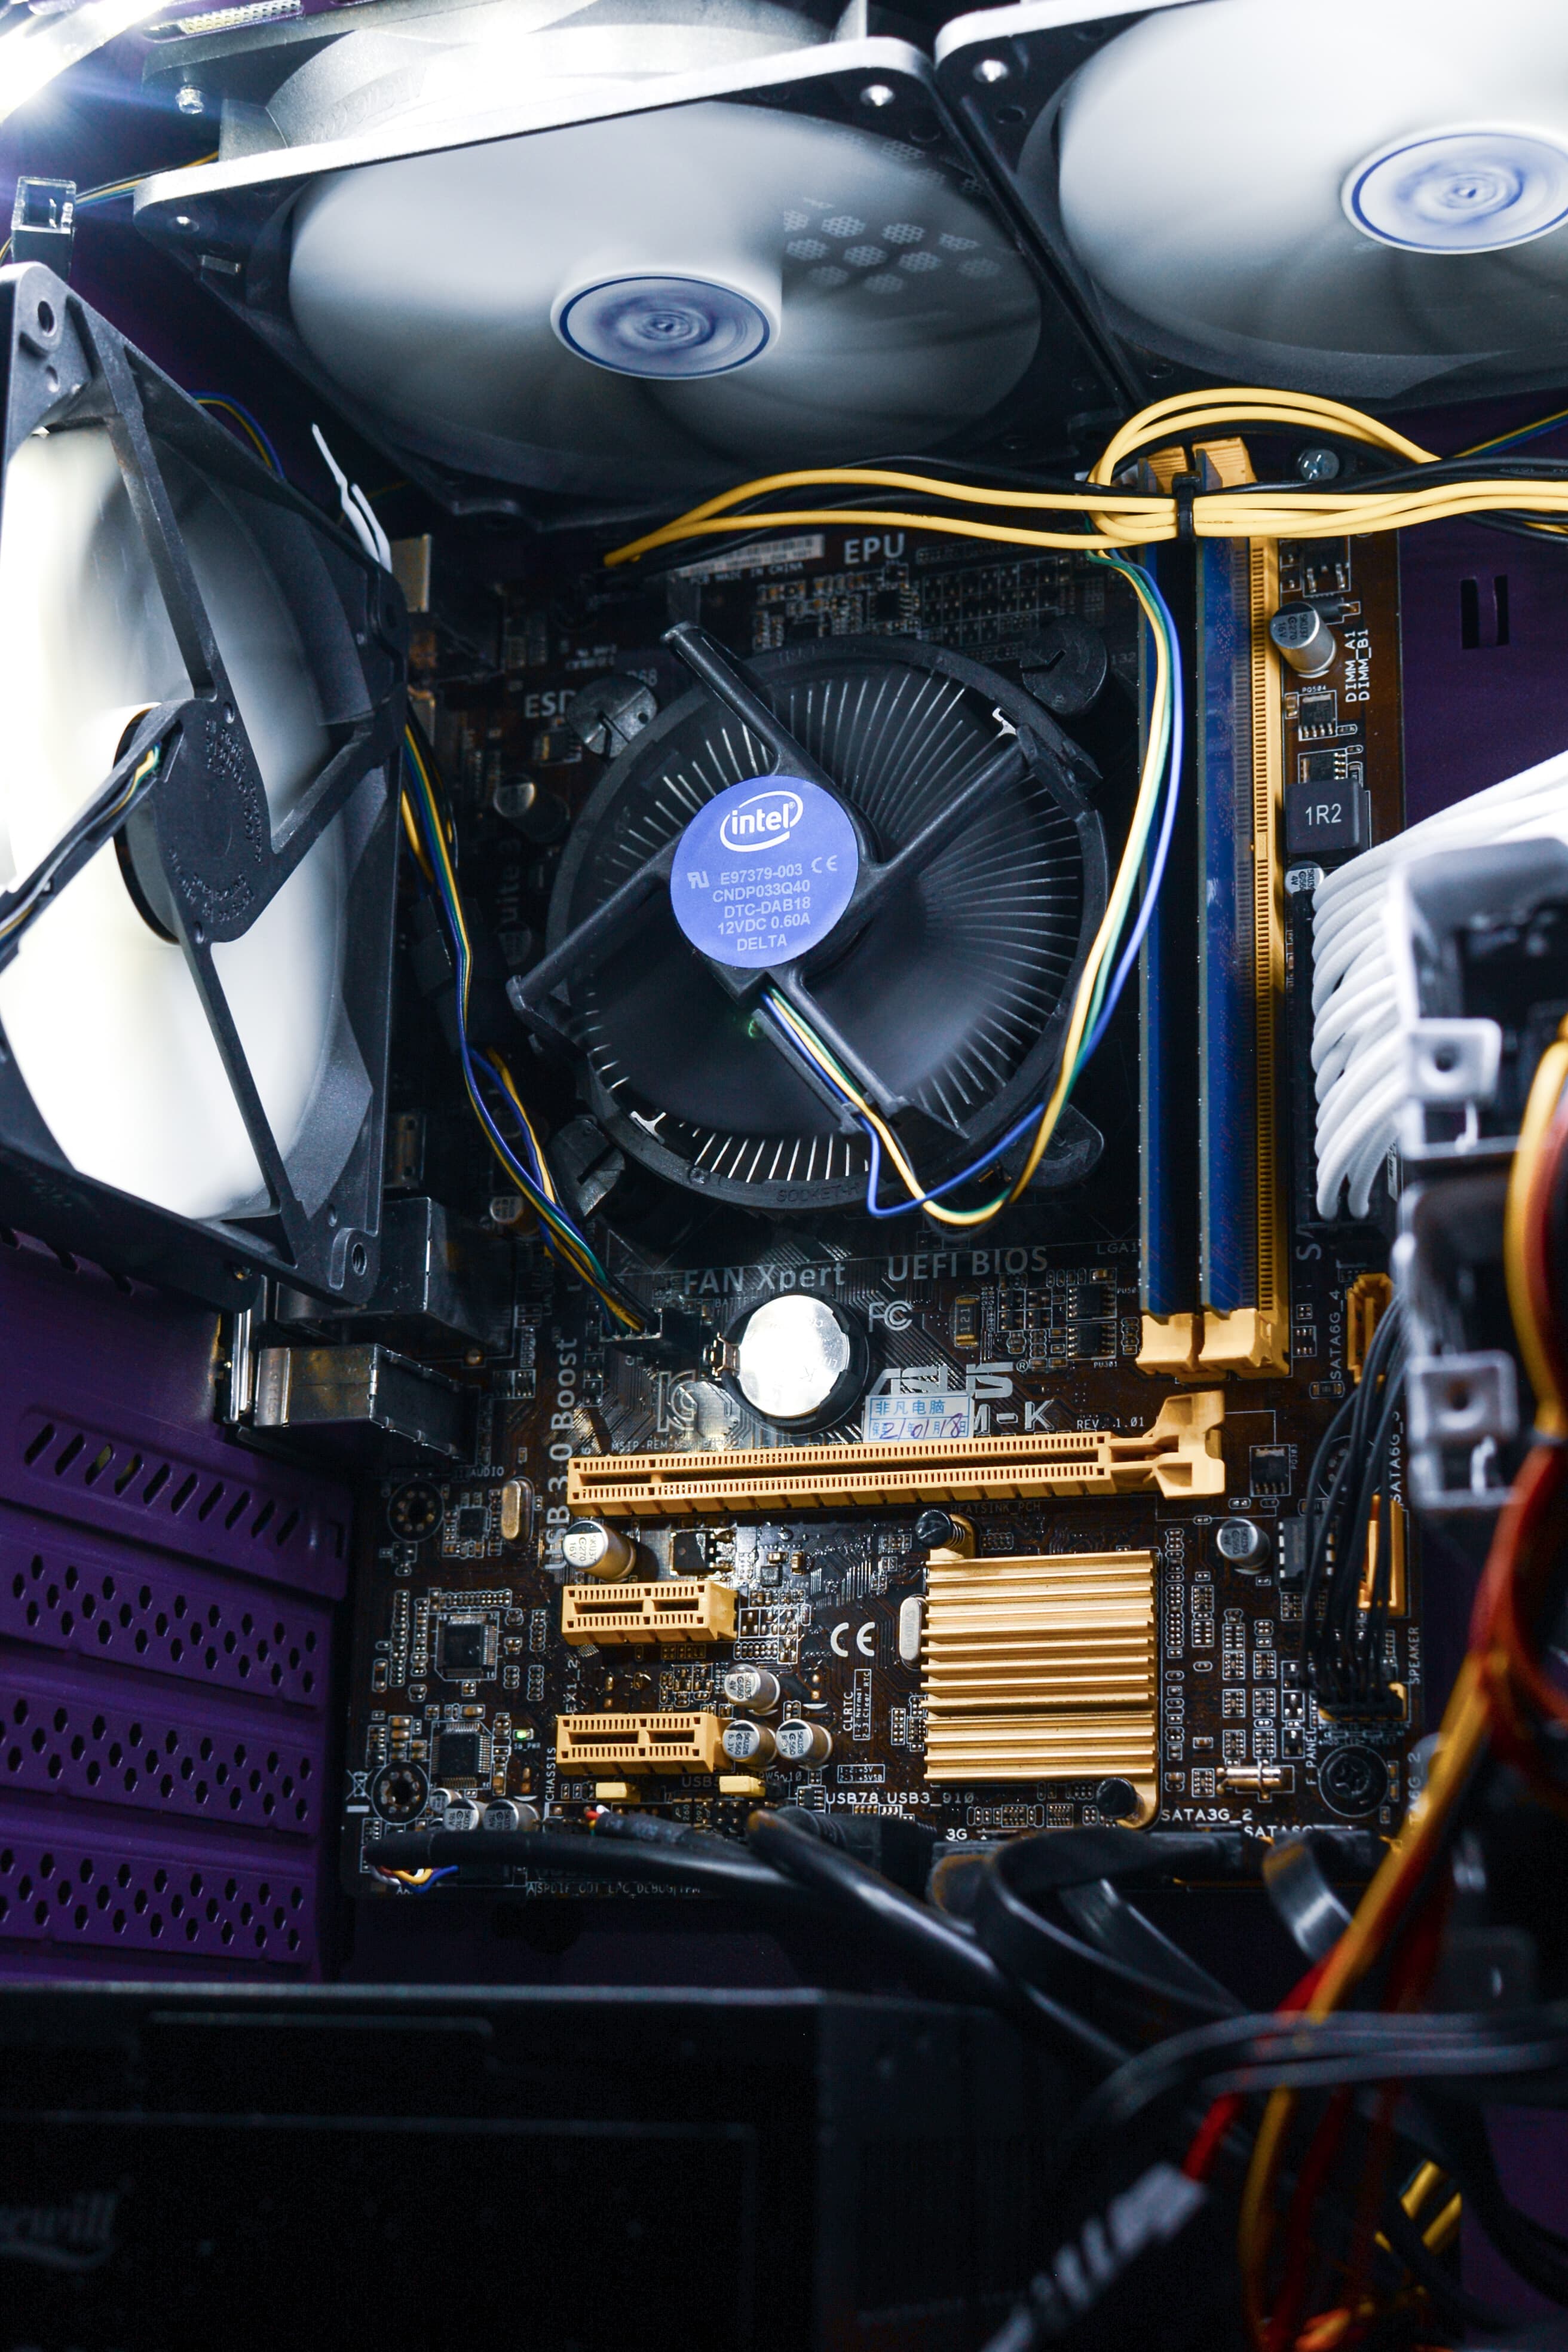
🚦 Motherboard: Asus B85M-K
🧠Processor: Intel i7-4770
🐏RAM:16GB
💼Non-RAID Hard Drive Capacity: 120GB
🕹Graphics: Integrated
💼RAID Config: RAID5
💼RAID Storage: 12TB
[USE CASE: Access and store data related to photoshoots/graduate school]
Before we jump in let's get some terms out of the way, a network-attached storage (NAS) device is exactly how it sounds, storage attached to a network. (typically larger volumes of storage) A NAS then utilizes a redundant array of independent disks(RAID), a set of internal hard drives all working together to store data efficiently and perform a recovery if needed. For my use case I went with RAID 5, it requires 3 disks and the data is spread (striped) across the drives along with the parity data so that if a drive fails it can recalculate the missing pieces. (RAID configurations) In terms of software to manage the NAS, I went with an open-source software called Open Media Vault(OMV). They offer a solid user-friendly interface and a wide variety of plugins/updates to support all your server needs. (firewall, antivirus, user management, RAID management, alert emails, custom scripting and more)
The Design🖌🎨
This might have been a bit over the top but after I bought that machine, I took it apart, sanded and spray-painted the whole thing. Went with a purple-and-white look, although the internal cable coloring wasn’t perfect it's pretty unique. Check out a little bit of the rebuild!
Overall, after learning how to spray paint things properly, it took a month and a half to complete the physical rebuild and software configuration. If you've never used a non-GUI Linux box before it takes some time to configure, but you'll learn a lot. I'm not entirely new to Linux, thankfully my degree program set the groundwork for scripting, and collecting data for forensic investigations.(more on that later) Outside of the OMV installation which helps you manage a plethora of Linux settings via web interface. I implemented firewall basics, user permissions, and even custom scripting all via the command line. From this home project, I focused on locking down the server, custom scripting for logging and server alerts, and of course learning more about Linux.
Did I mention I'm a photographer? 📸 😁
Implementations in place/progress:
Firewall: Software/ additional Hardware that protects unwanted & potentially malicious traffic from accessing your device or network. (varies based on implementation)
Block unwanted services from access by port/ip/protocol
Prevent local unauthorized devices from pinging the server
Set static IP for devices to connect to the server
Block port 80 Traffic Inbound/outbound(HTTP)
Utilize Deny all at the end of the rule set
Basic Linux Security:
Change default passwords: This happens more often than not, keep those passwords complex and unique.
Scripting for Log back up: Logs get overwritten, so if there was a shutdown or some other failure and you are out of town you want to be able to review the logs at a different time to determine the issue. Currently working on a script to copy logs out to one of those 6TB WD drives I mentioned earlier.
Scripting for drive temp readouts: A newly added feature on OMV, but I wrote a custom script that is executed every 4 hours to tell me what the drive temperatures are.
Enable 2 Factor Authentication via Google: Another unique way to access a secure shell outside of just using a normal username and password.
Enable log stash forwarding: Hold information regarding shutdowns, file access, and telemetry data from the server and email it.
Setup SSL for Server access: Add a certificate to create a secure connection when accessing the server in the local network, the lock icon in the top left of your browser.
What's Next? 💻
This post is kicking off my series of custom server management & analysis, stay tuned for more!
Install Elastic to run a home System Information and Event Management (SIEM) solution(Logging solution for local devices)
Run vulnerability scans: What holes are in the server right now?
Review logstash: What do server logs look like?
Script analysis: Bash & Python